All Positions
There are 5 positions you can play: 4 on the field and the goalkeeper. Depending on what Style you choose, certain positions might benefit you more than others.
- CF – Center Forward position, an attacking position that’s great for pure goal-scoring Styles. (example Shidou Ryusei)
- RW – Right Wing position, ideal for Styles that have solid movement and ball-controlling abilities. (example Nagi Seishiro)
- LW – Left Wing position, a good option for Styles with a mix of goal-scoring abilities and ball control. (example Itoshi Rin)
- CM – Center Mid position, closest to the goalkeeper. This is a versatile position where you can focus on defense with a Style like Don Lorenzo or use Itoshi Sae for more passes and ball control. (example Don Lorenzo)
- Goalkeeper – This position is unique since you get additional controls (listed below in a dedicated section). You can still use the abilities from your Style in this position. (example Iotshi Sae)
*Note – The mentioned Position and Style combinations are merely suggestions. You’re free to try any Style with any Position.
Basic Controls
This are the basic controls for the CM, LW, RW and CF positions.
| Key | Move | Showcase |
|---|---|---|
| M1 (Left Click) – Shoot or pass | Primary shooting or passing move. Chargeable by holding down left click. No cooldown. | 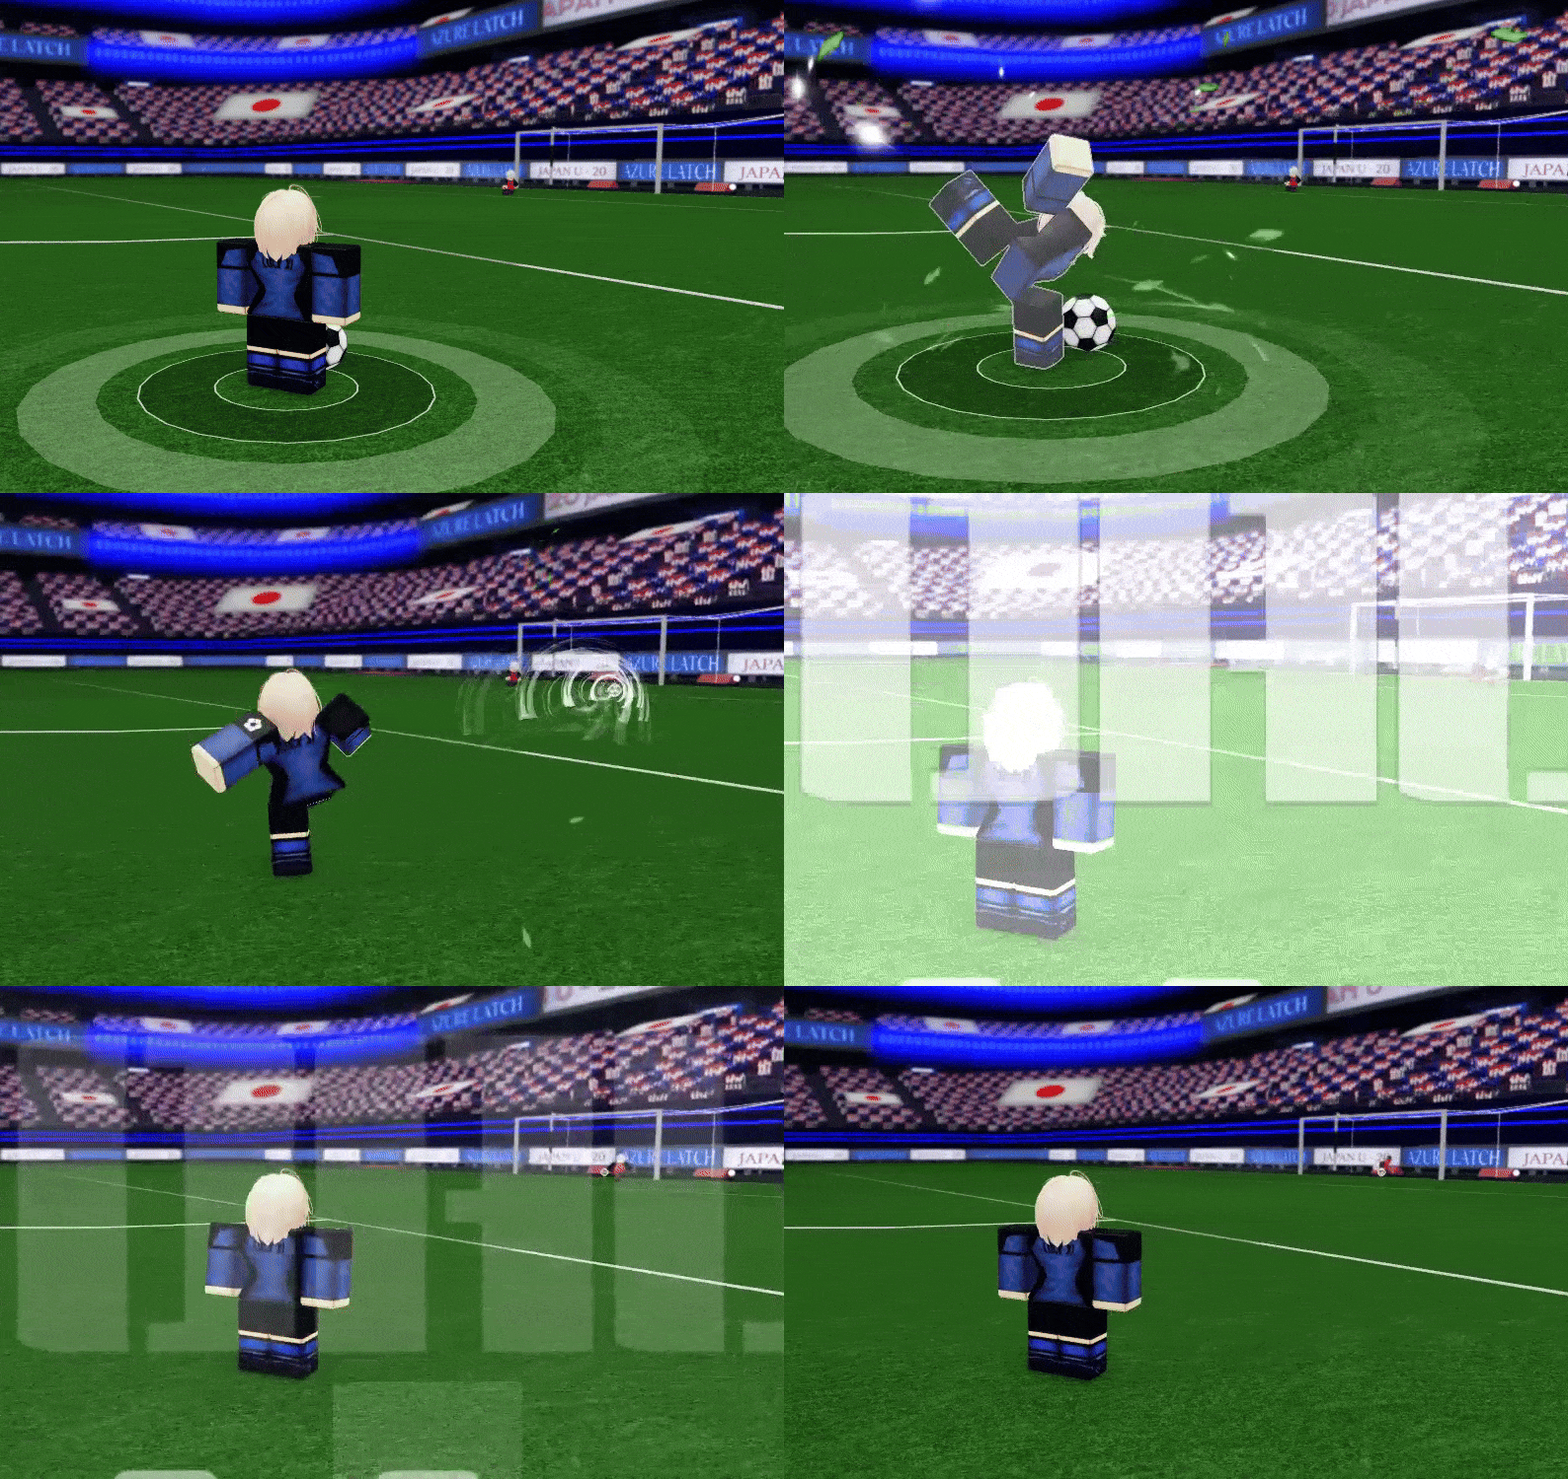 |
| E (used while not having the ball) – Switch between Normal and Header modes | Normal mode – used so you don’t accidentally hit the ball with your head upon contact. Header mode – used to direct, control, or guide the ball. | 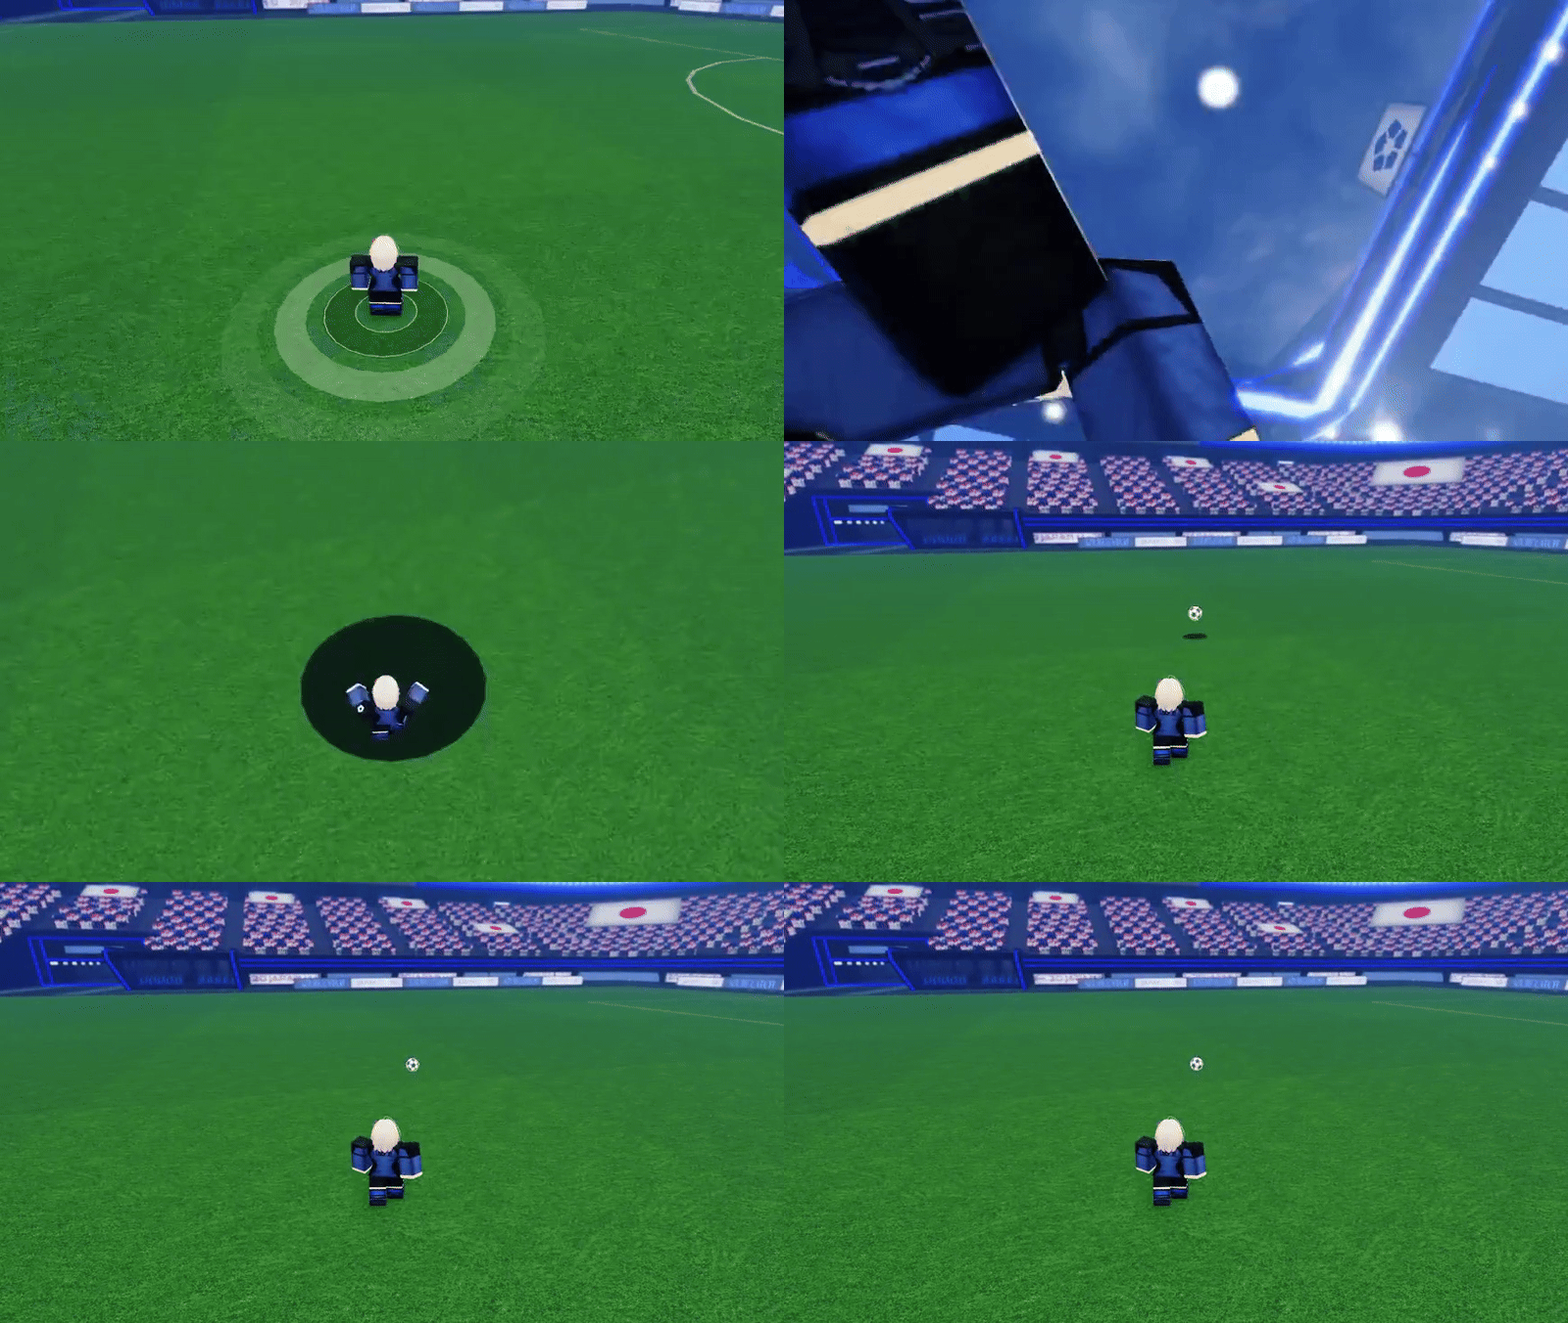 |
| E (used while having the ball)- Dribbling | Ankle-break opponents and gain distance. Cooldown is 2.75 seconds. | 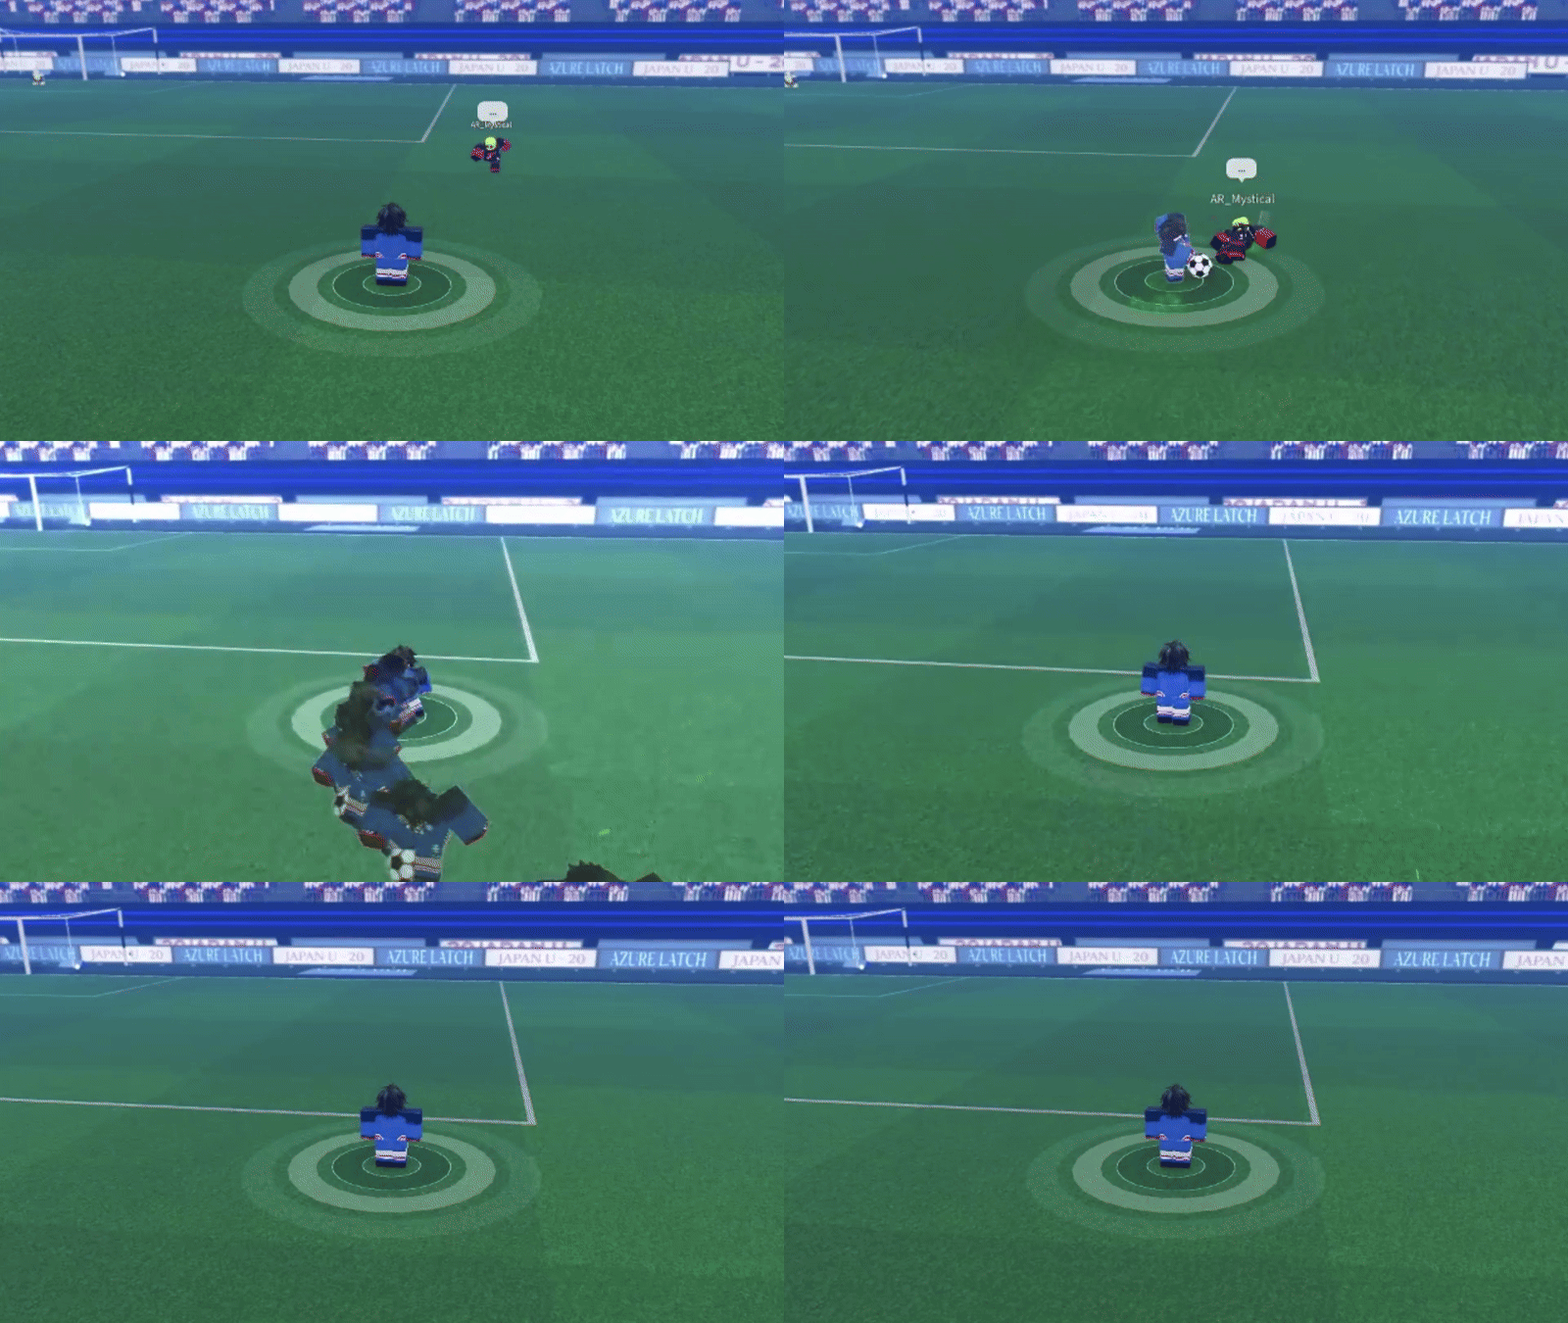 |
| Q – Tackle/Dash | Steal the ball from the opponent (must be timed precisely). A successful tackle stuns the opponent for 1 second: a missed tackle stuns the player for 1 second. Cooldown is 3.5 seconds. | 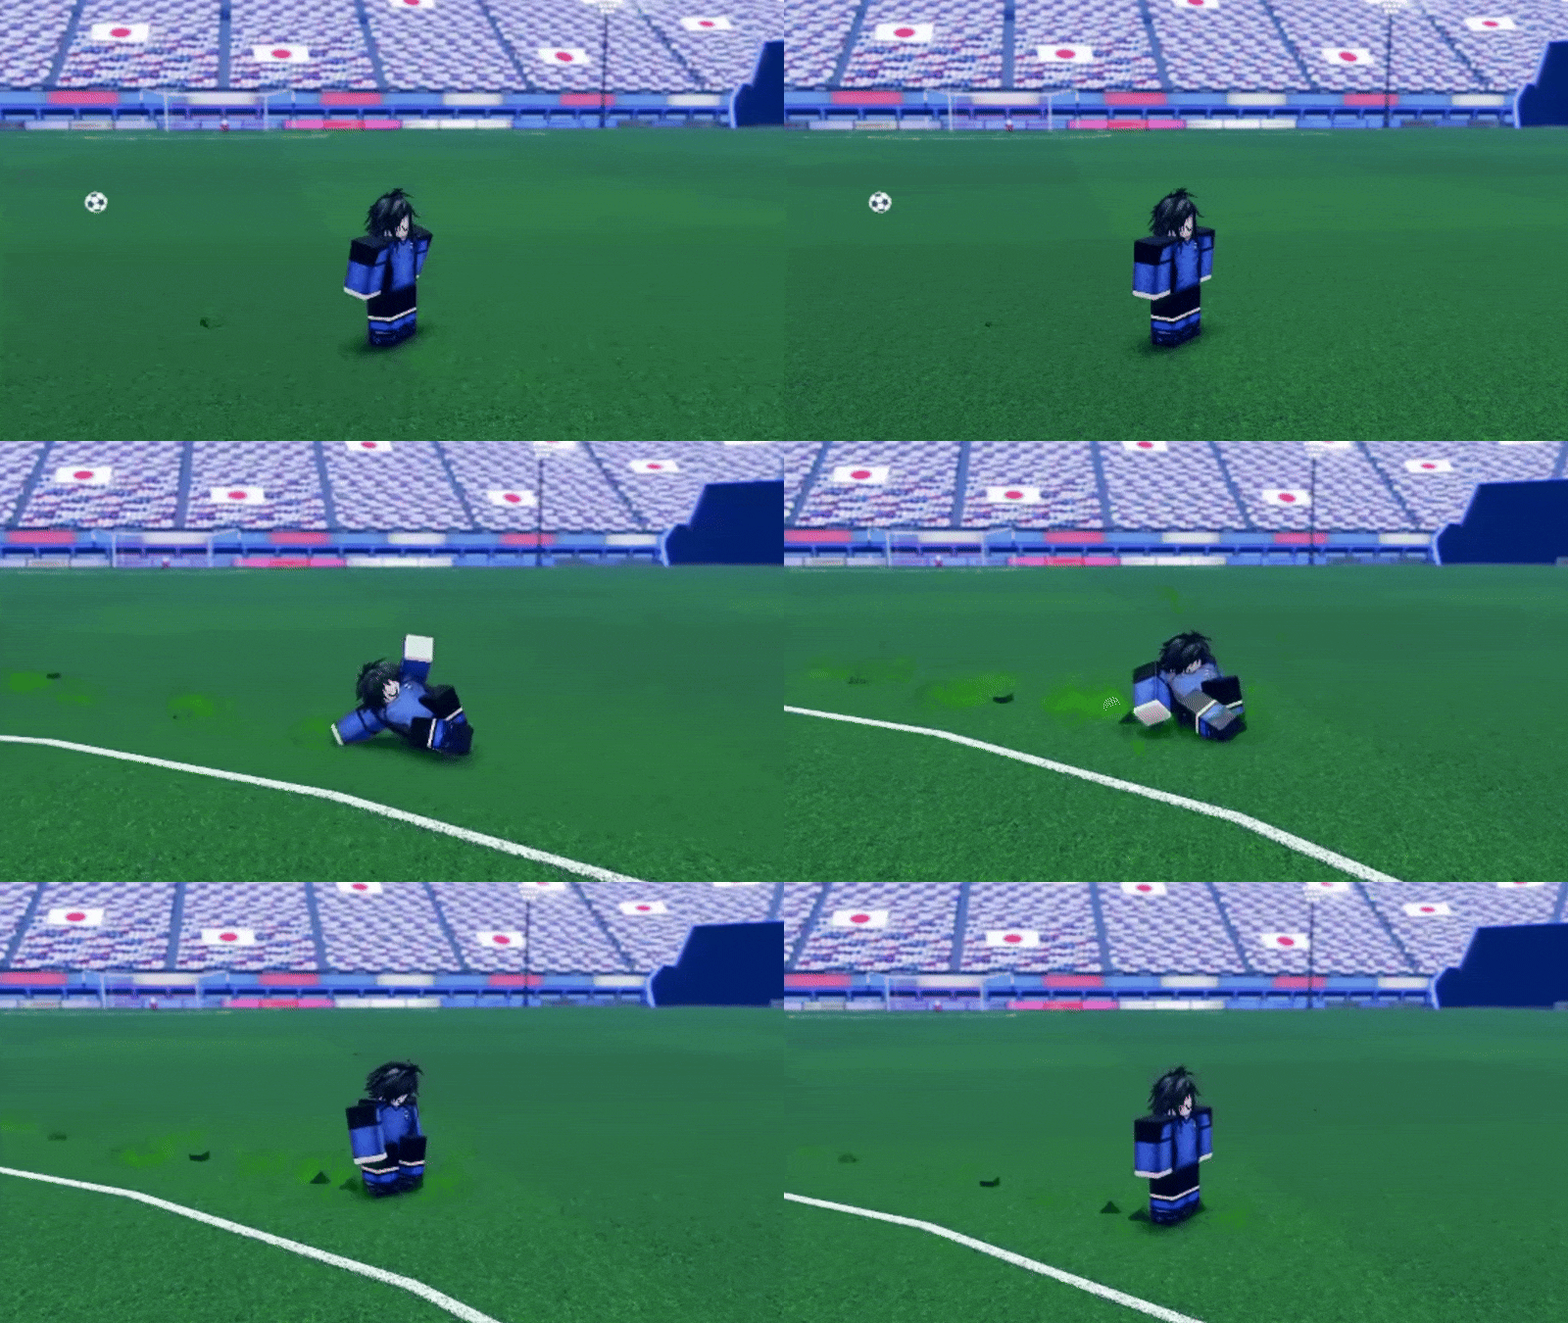 |
| R – Call for a pass | Ask for a pass from your teammate. Cooldown is 1.5 seconds. | 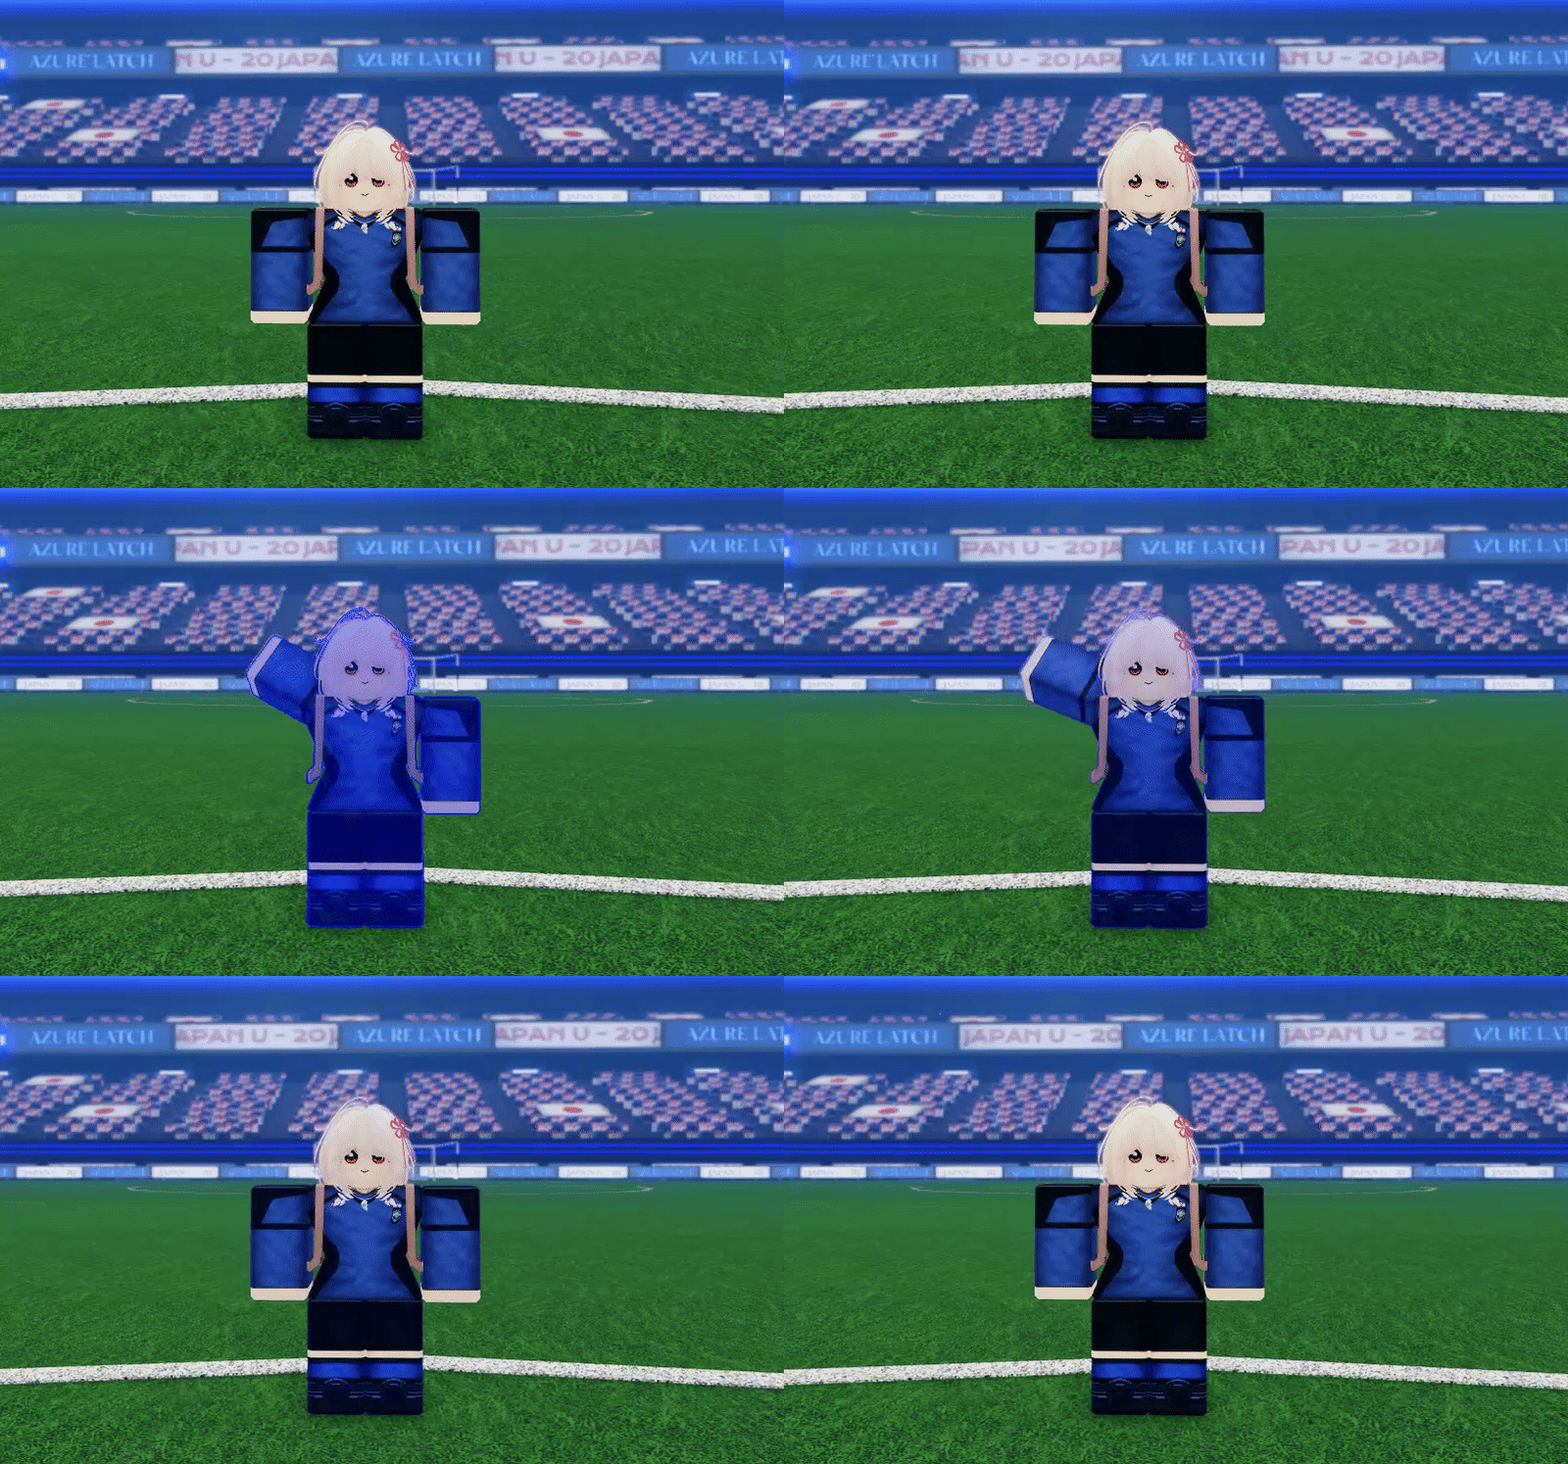 |
| Space – Rainbow flick | Flick the ball up in the air to create space and trick defenders. Cooldown is 2-3 seconds. |  |
| F – Speed Boost | Perform a short dash to gain distance from the opponents. Cooldown is 5 seconds. | 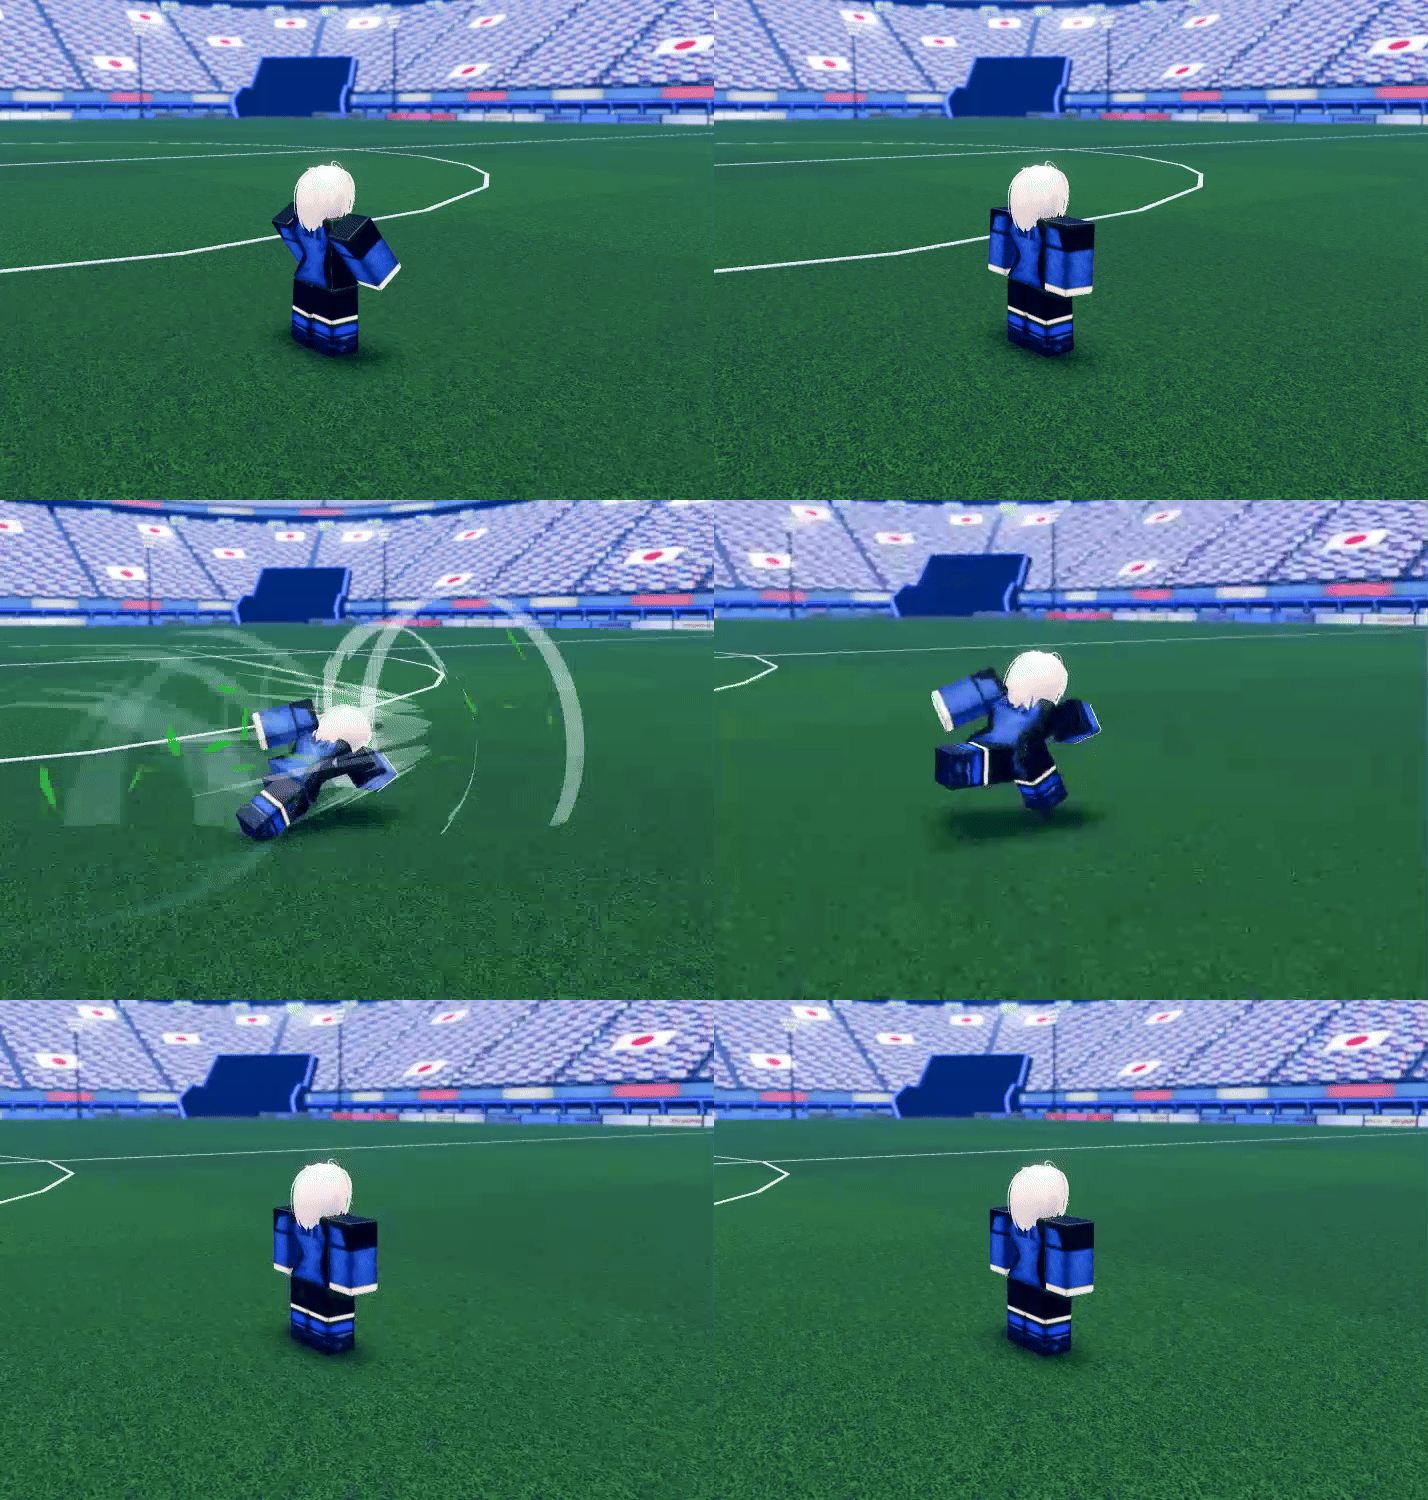 |
| A/D + Q – Slide Dash | A quick dash to either the right or left. Useful for dodging tackles. Cooldown is 2 seconds. | 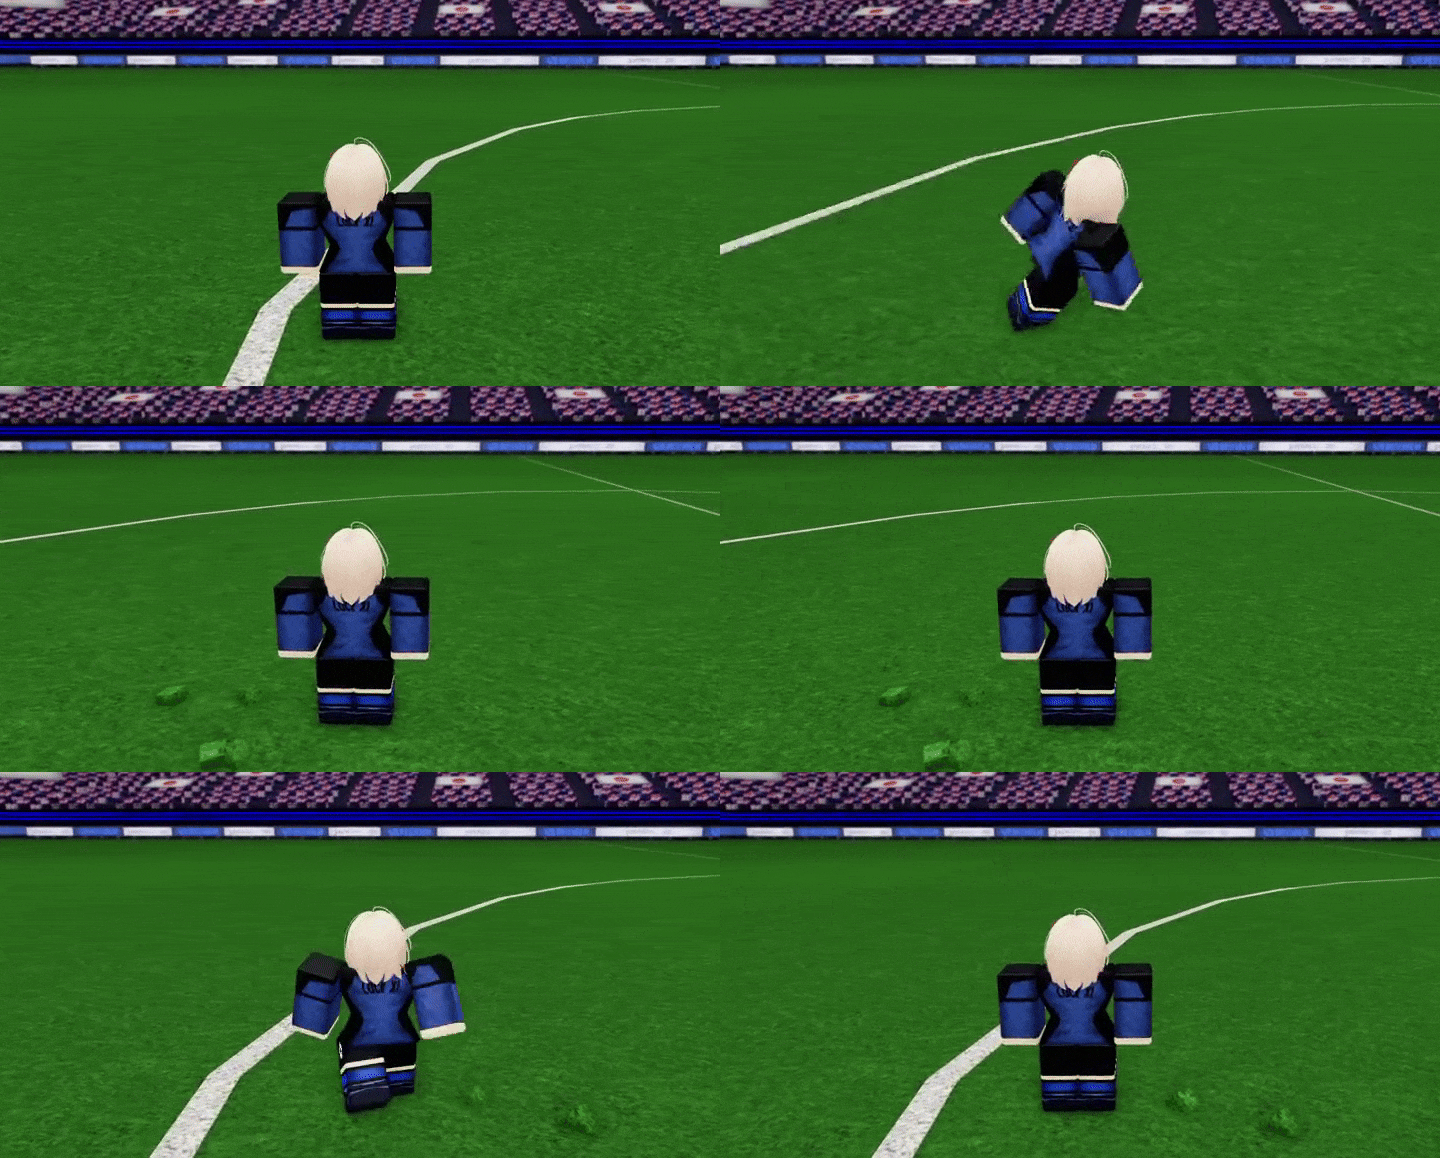 |
| A/D + M1 + Shift lock + Look up – Curve shot | Curved shot. Can be used for precise passes or trick goal shots. No cooldown. | 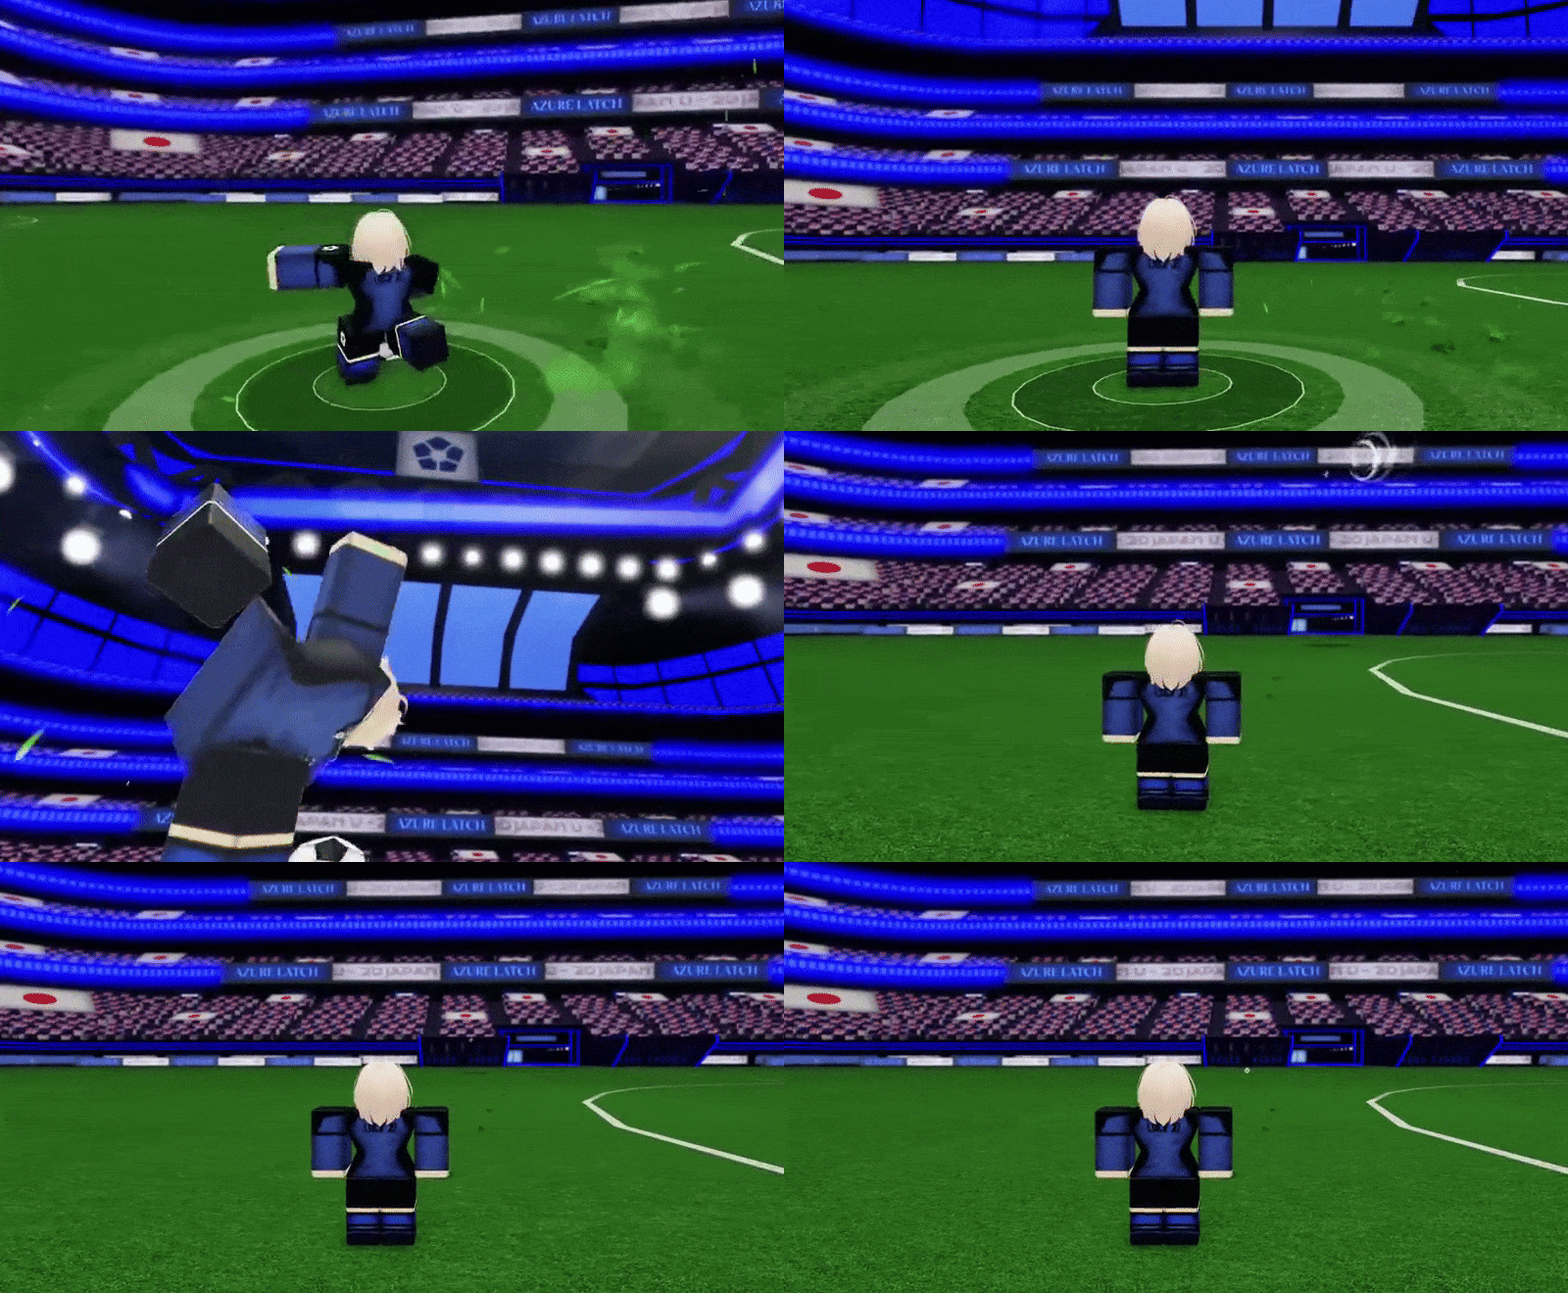 |
| G – Flow/Awakening | Unlocks awakening moves. | 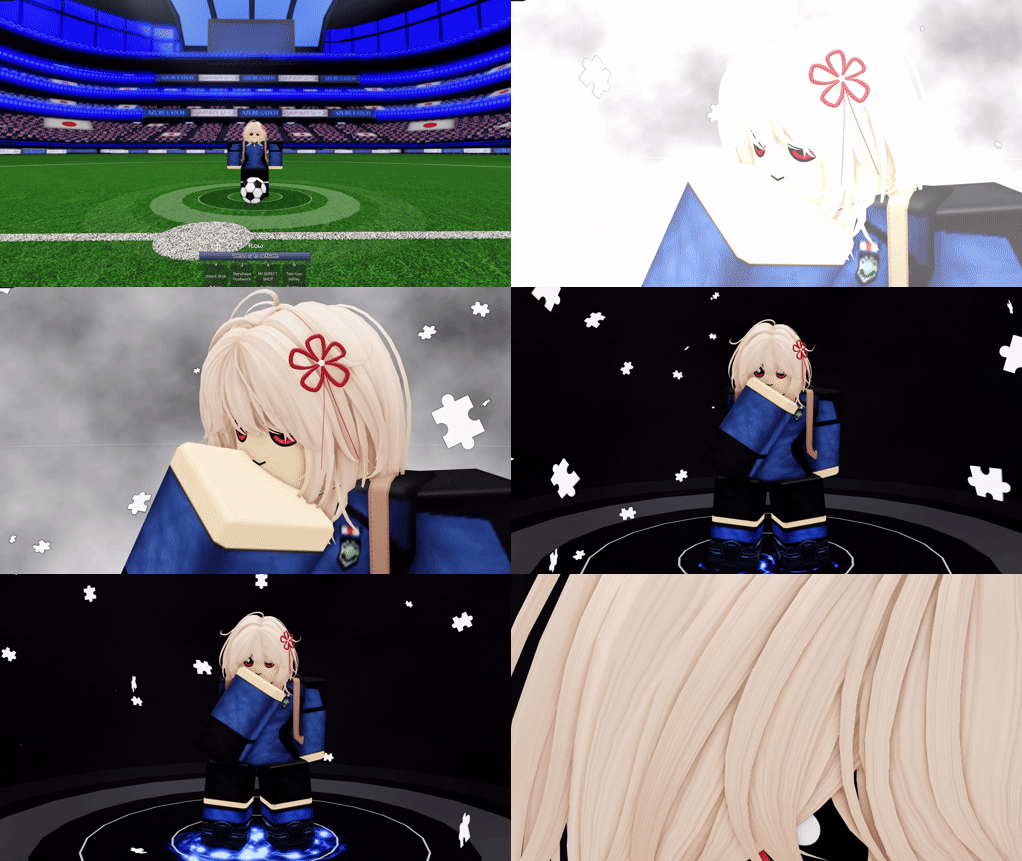 |
How to Get Flow
Flow/Awakening is used to access special abilities in addition to the base moves of a Style. You can get Flow by performing specific actions:
- Receiving the Ball – + 1 Flow
- Header – +1 Flow
- Tackling/Stealing – +5 Flow (if you succeed on the tackle)
- Dribbling – +4 Flow (if you successfully land your dribbles)
Flow last for 1 minute and has unlimited uses while active. Once the minute expires, Flow will be on cooldown for 50 seconds.
You also can’t get Flow when somebody else’s Flow is active.


Goalkeeper Basic Controls
These moves are only available if you select the Goalkeeper position.
| Space – Jump Block | Jump and block shots above the goal. No cooldown. | 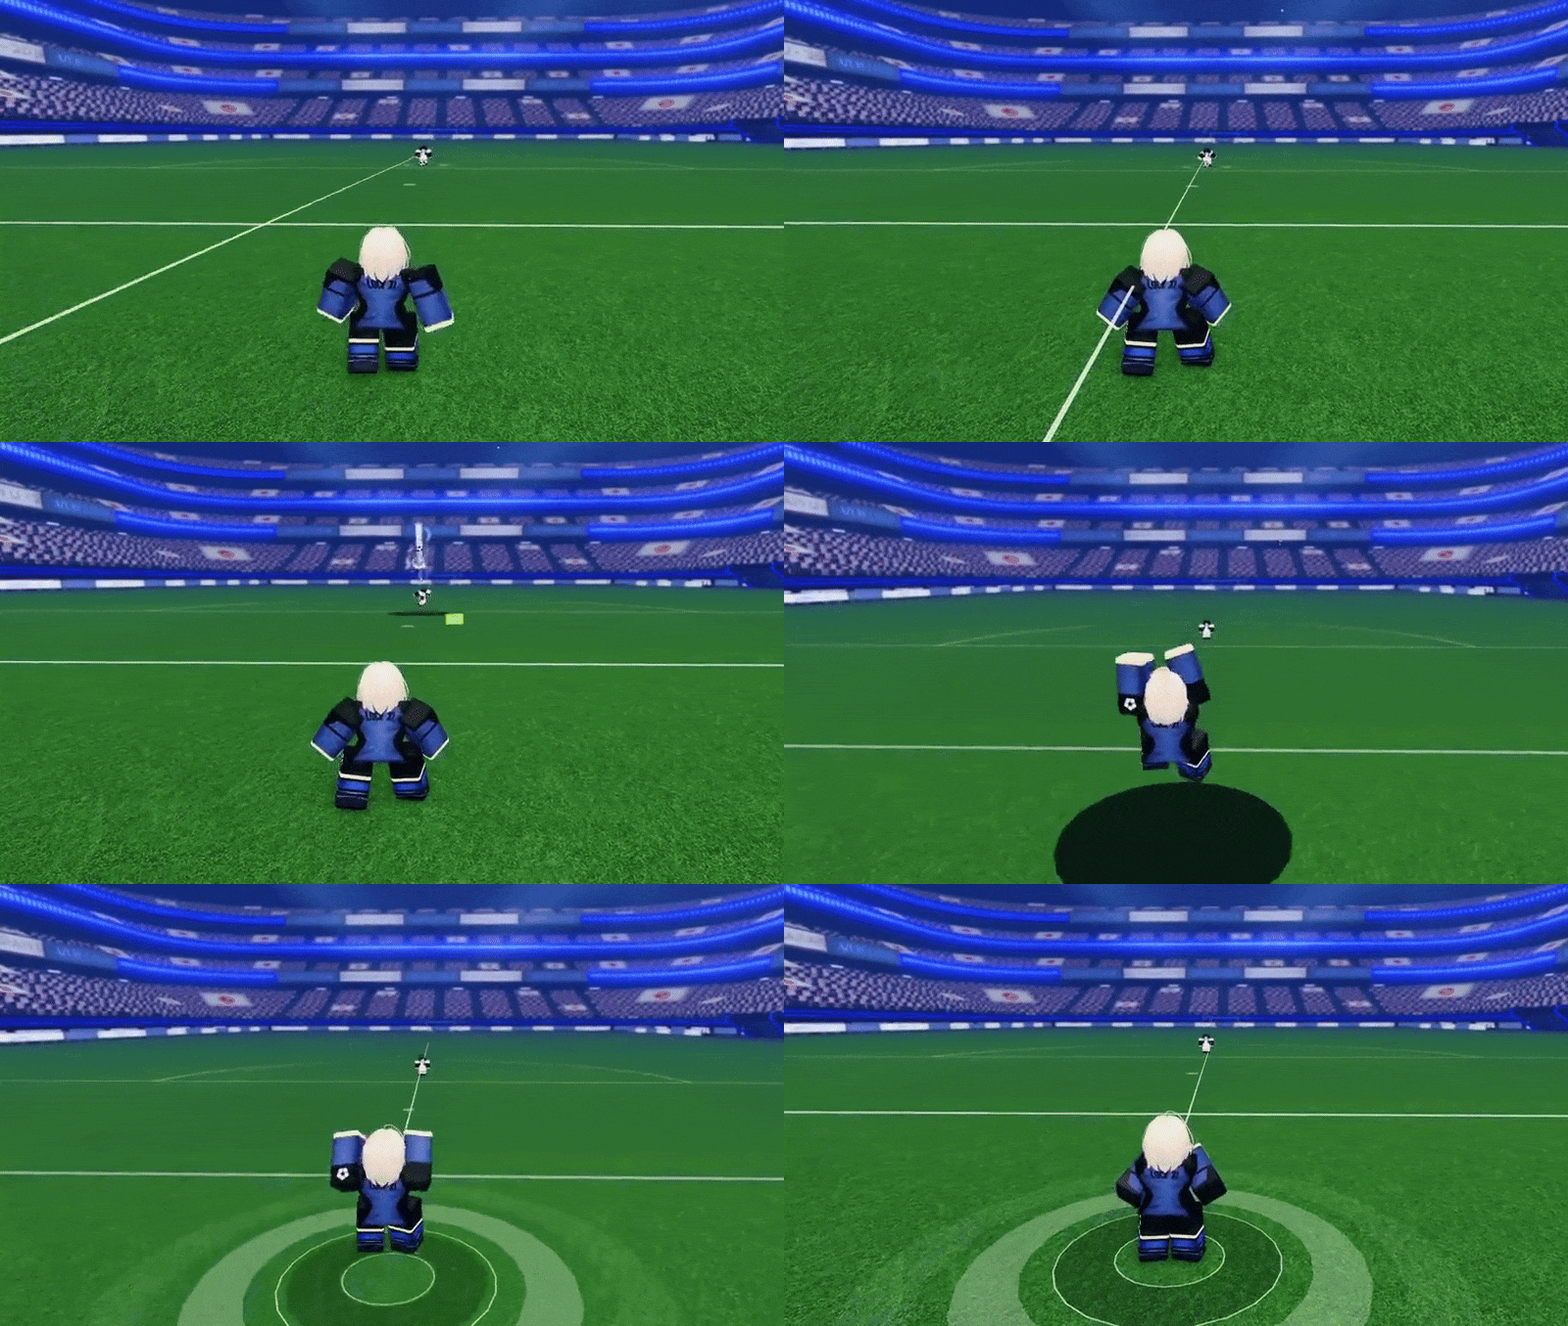 |
| Q – Forward Dive | Dive in front of the goal. No cooldown. | 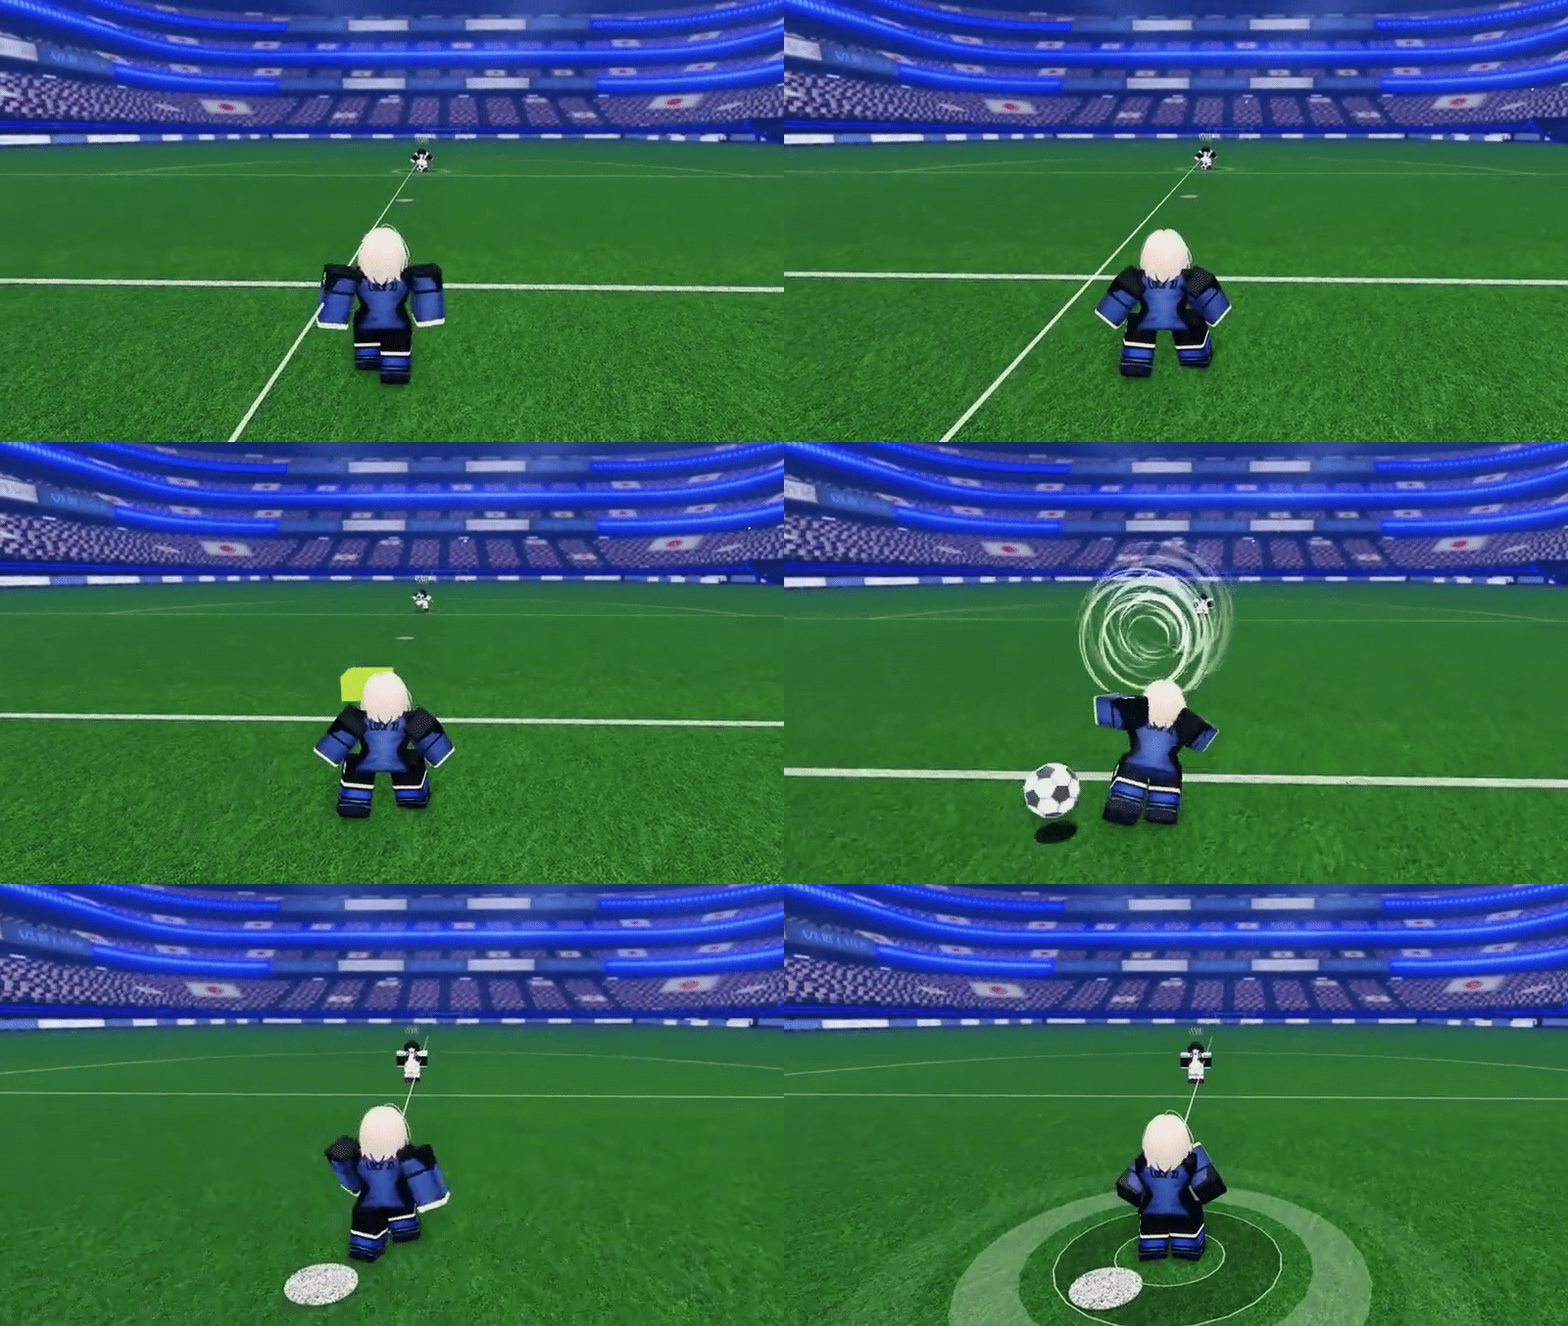 |
| A + Q – Left Dive D + Q – Right Dive | Dive to the left/right side of the goal. No cooldown. | 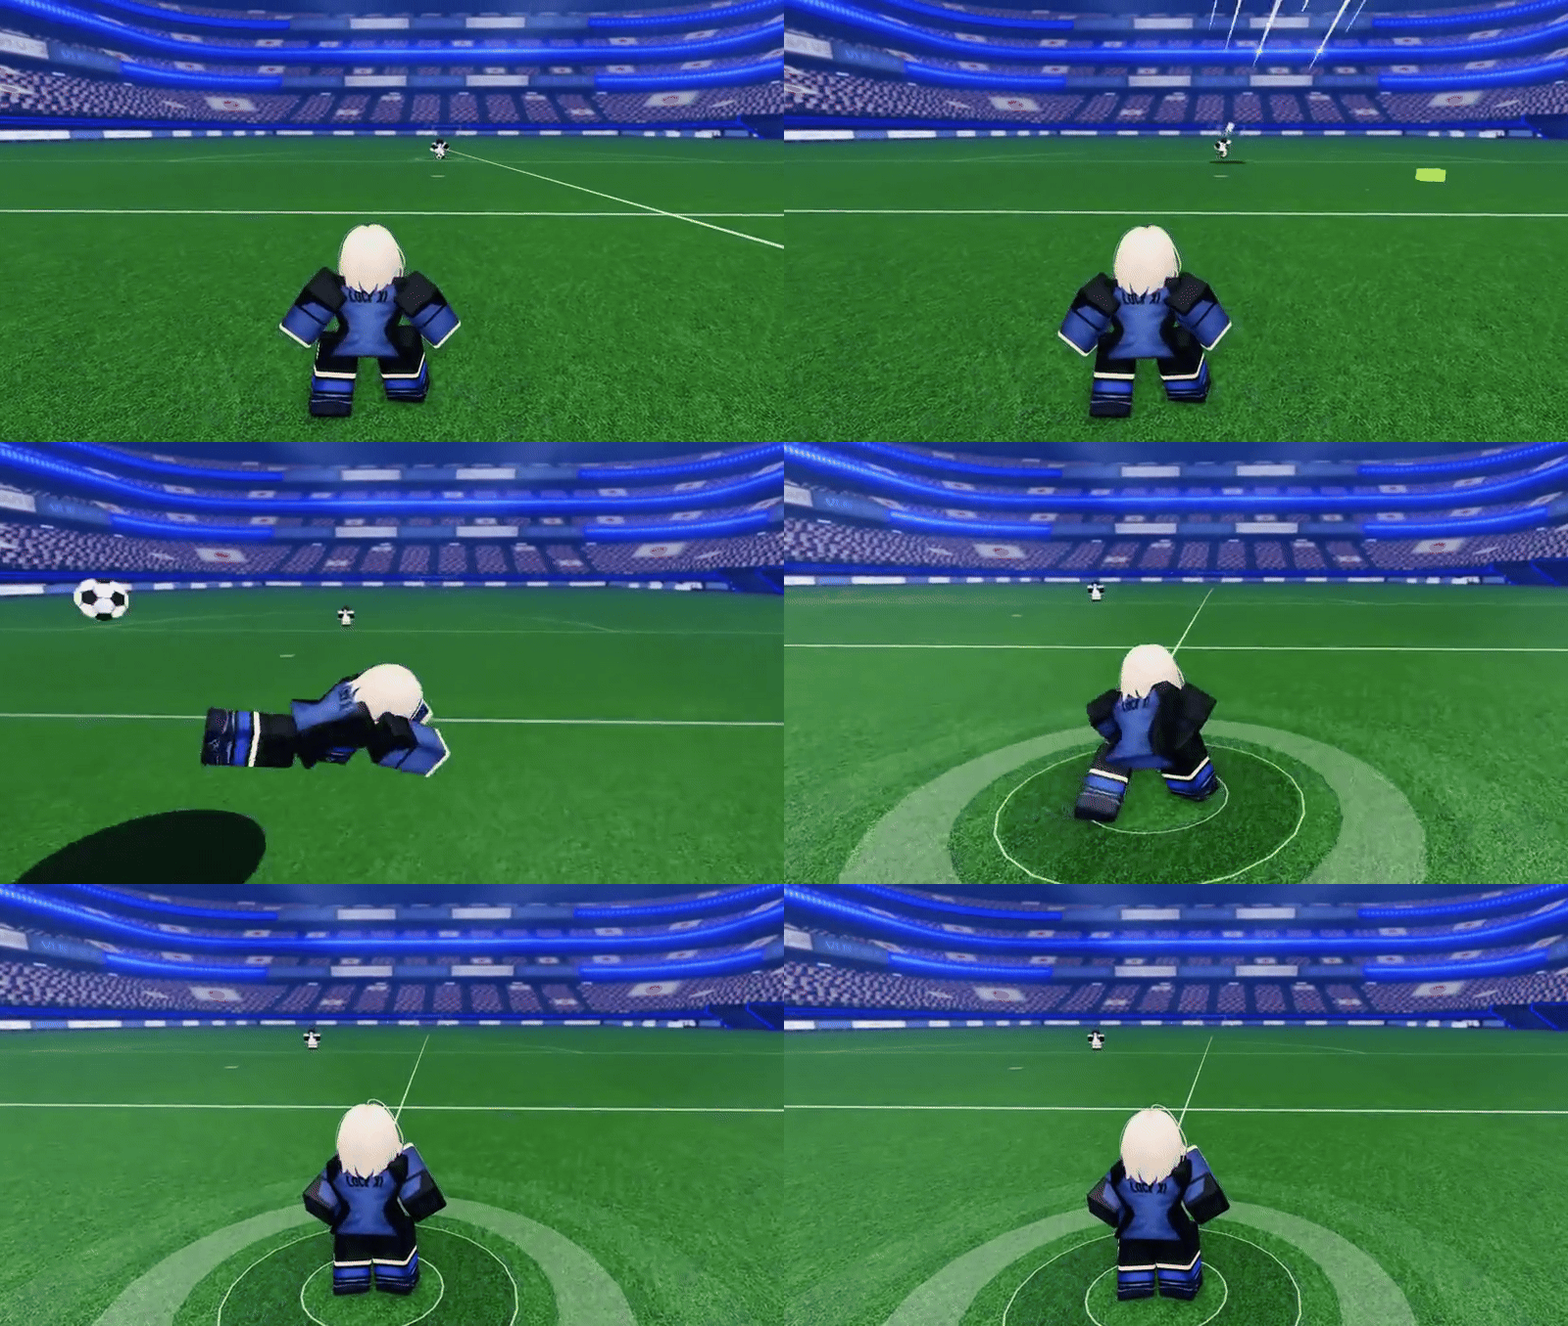 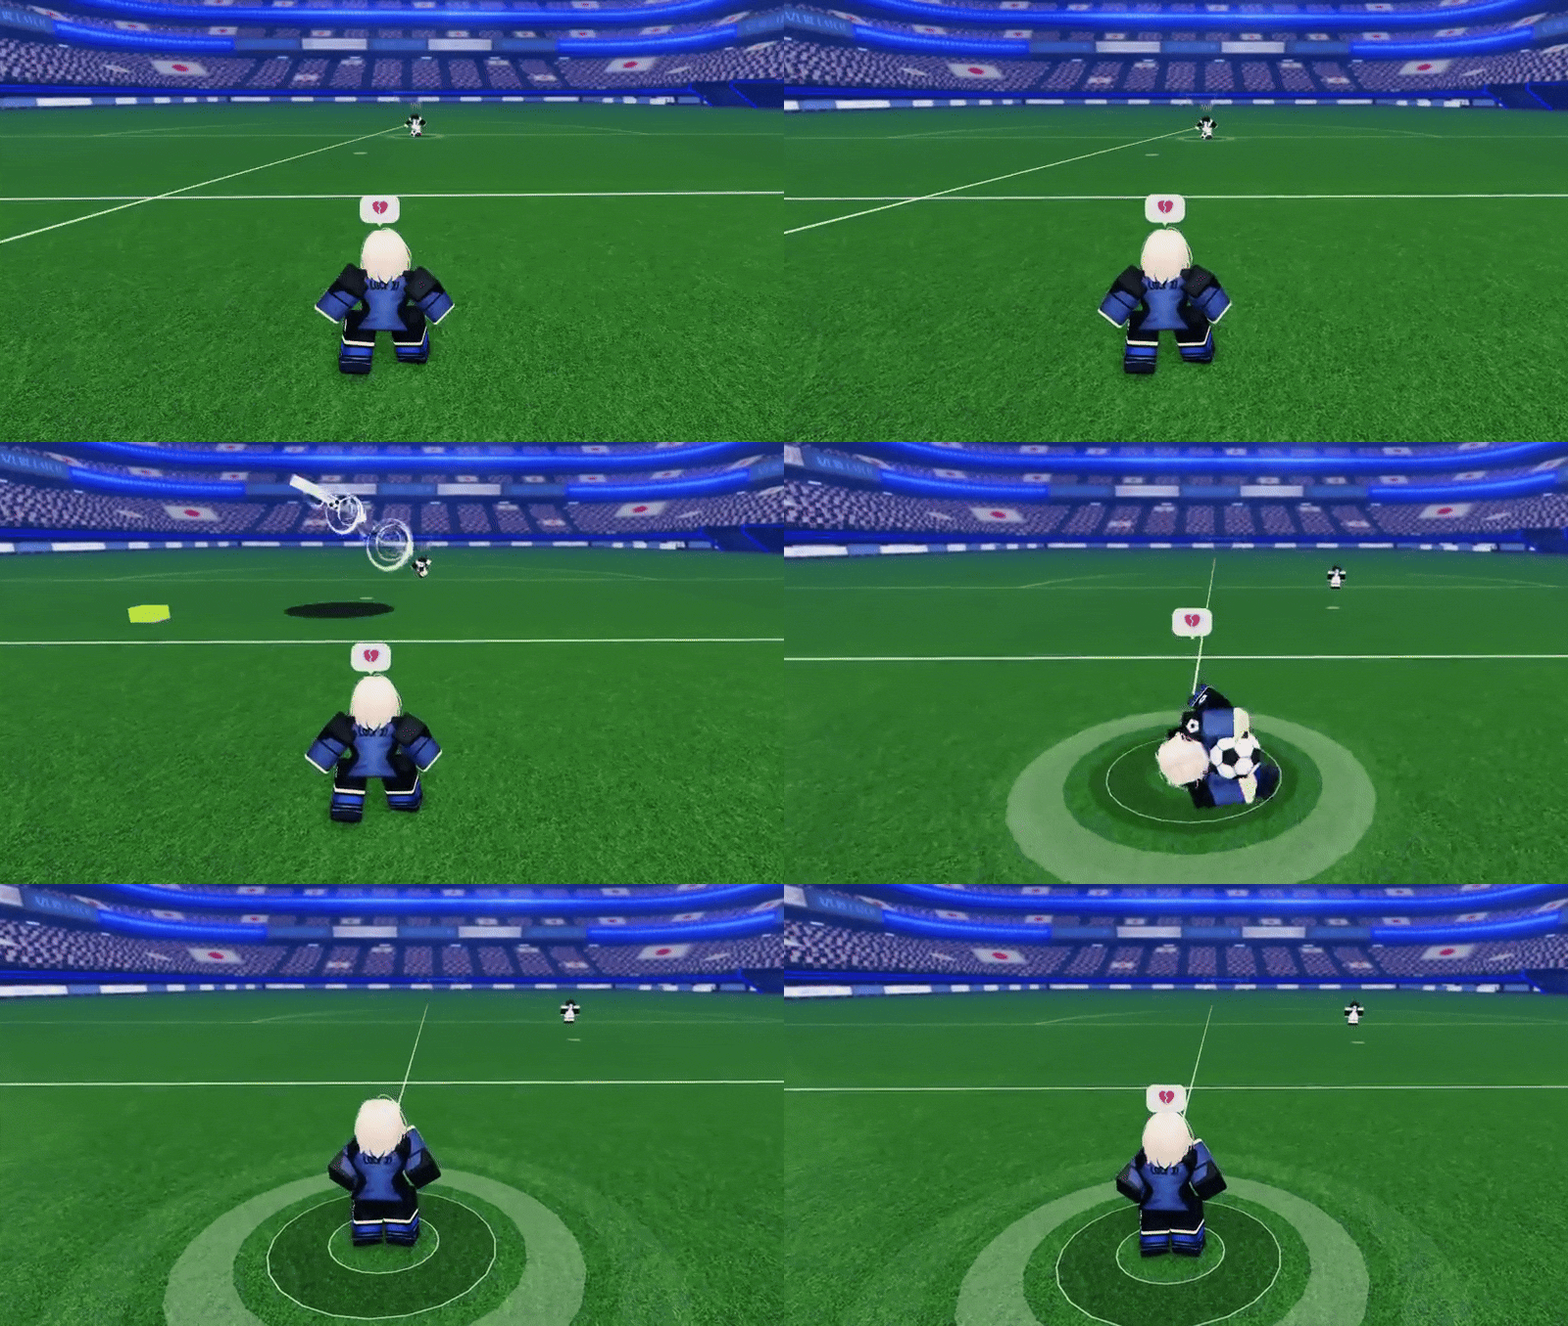 |
| T – Super Throw | Pass the ball to a teammate. Аfter around 5 secs this will automatically be used. | 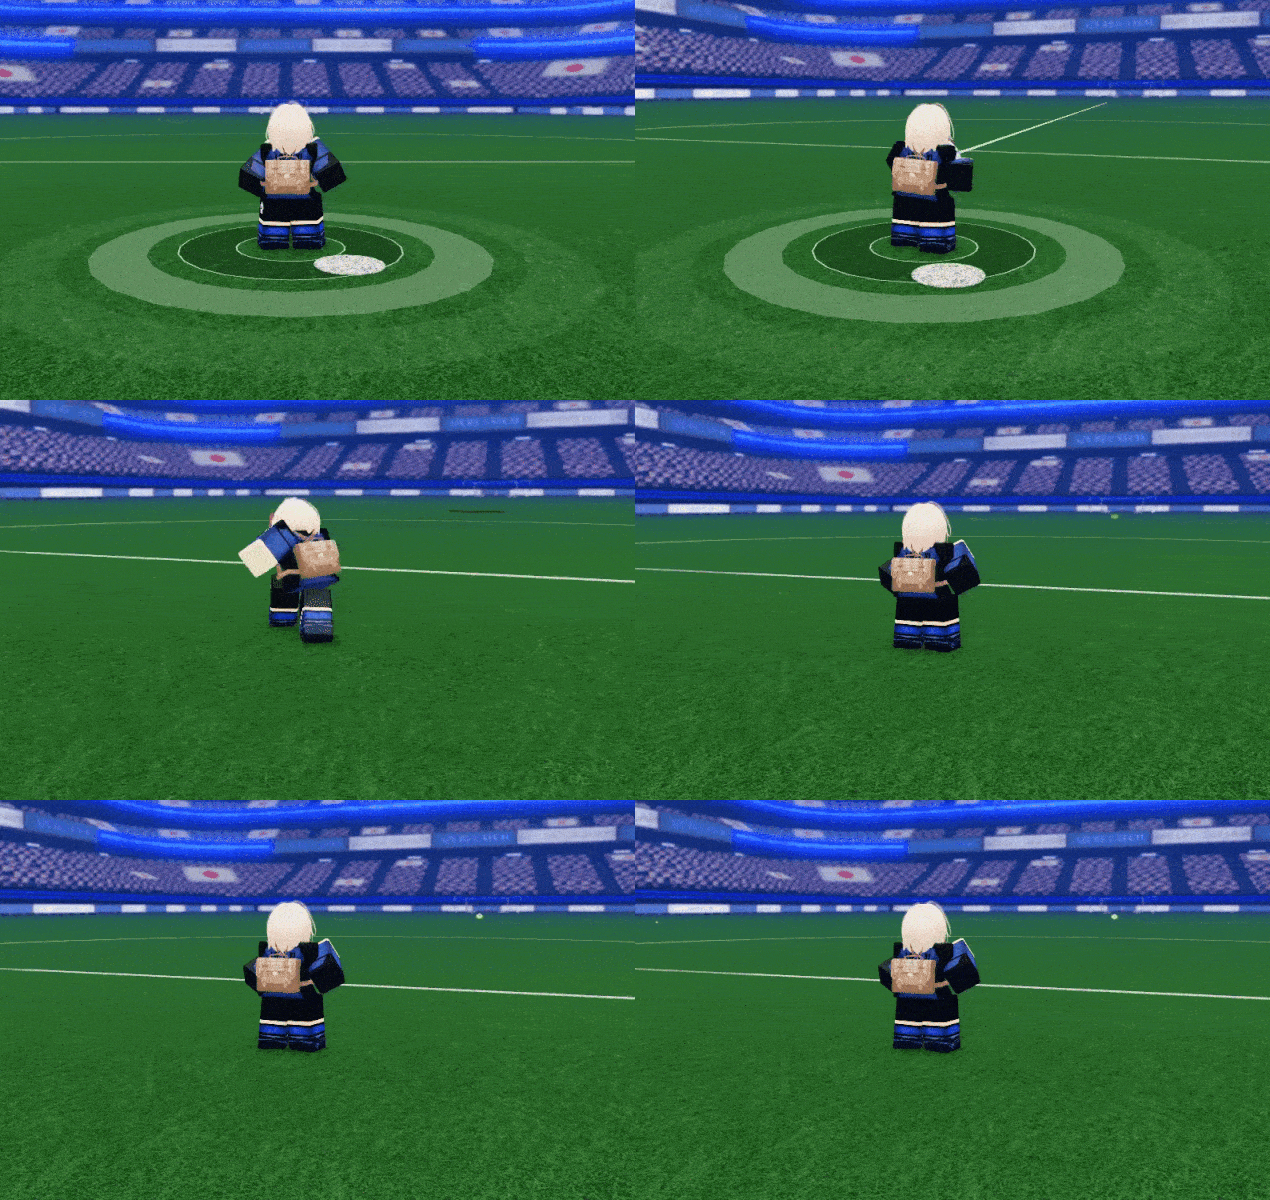 |
Benefits you get as the Goalkeeper:
- Nobody can tackle or steal the ball away form you as long as it’s in your hands.
- You can tackle the opposing team no matter what ability they are using.
- A white line will appear on your screen indicating where the ball will go if a player has it.
- There is a yellow box outline on the ball to help you keep track of where the ball lands
Disadvantages you get as the Goalkeeper:
- You will not be able to move in some cutscenes. The cutscenes will also blind you with darkness or brightness.
- In certain cutscenes of shooting abilities it’s really difficult to catch the ball unless you have amazing reflexes.
If nobody chooses to play as the goalkeeper, there will be an AI Goalkeeper present instead. The AI will switch throwing the ball towards the furthest random teammate. The AI Goalkeeper can’t save the ball, it will only block it and it will bounce of it. If there are no teammates in the teams half of the field the AI will use Super Throw at the middle of the field.
Basic Mechanics and Useful Tips
Here are some useful tips to keep in mind while playing:
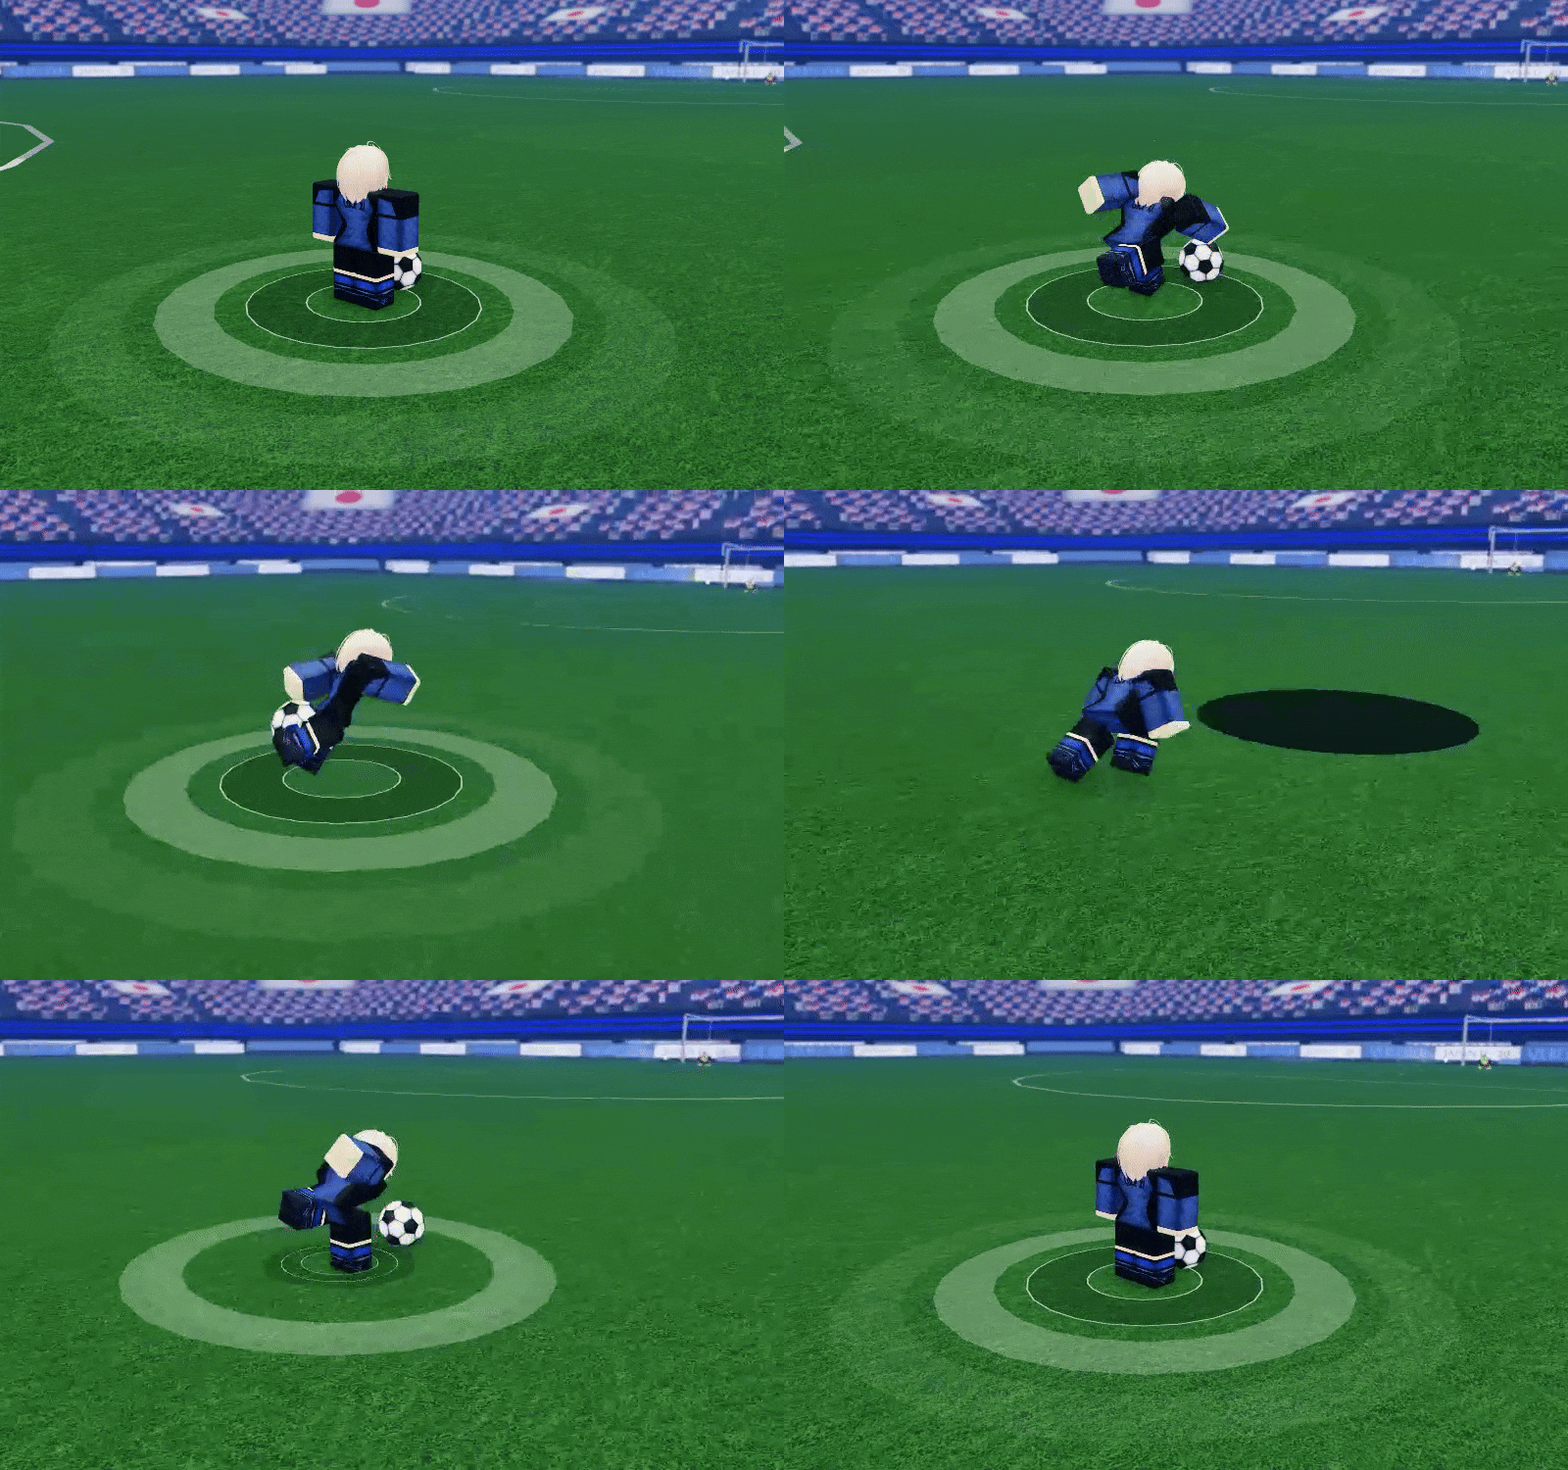
- Use Header Mode to Dribble effectively – Kick the ball in the air and then jump in that direction to do a header, keeping the ball up. At the peak of your next jump, use Tackle to hit the ball mid-air (must be timed precisely). When you land, jump again and do another Header. Combine this with Speed boost and Rainbow Flick to keep going even further, or Side Dash to change the direction of the ball.
- Increase Speed Boost distance – Spam space while dashing to jump after the dash animation and cover more distance.
- Shoot with precision and power– The ball always follows the direction you are looking at: look straight down to shoot a low-to-the-ground ball or look up to shoot higher. Always try to charge the shot to gain power.
- Play an efficient Goalkeeper – Play exclusively on Normal mode. Keep track of the white line of the player with the ball, which indicates where they are looking. Practice jumping before Diving Left or Right to catch higher shots in time. Goal keepers have increased hitboxes, so just being near the ball you are trying to save is enough to catch it. The same applies to tackling.
Comments
Sign in to post a comment.
No comments yet. Be the first to comment!